
BASIC GUIDE TO START IN MACRO PHOTOGRAPHY
So that we understand each other, macro photography is a photographic discipline that manages to increase the size of small objects and to be able to photograph all their details. Technically speaking, it is a photograph in which the photographed object is the same size as the sensor of the camera we are using. This is why you have heard of 1:1 macro lenses.
The photography of tiny things is something that any lover of photography is attracted to at some point and usually generates quite a hook as it allows us to see the world in another way and is tremendously useful to train our attention and composition using minimalist techniques as we were seeing in the article of minimalist techniques to improve the composition of our landscape and nature photographs.
It is true that it is a world of photography where there is a tendency towards purism (Oh no, I didn't want to use this term again!). Here, and may any purist reader forgive me, I will give you my point of view so that you can discover macro photography where almost anything goes in order to explore this great little world.
The ideal way to get into macro photography is to have a 1:1 macro lens that allows you to focus at a short distance from the object you want to photograph. These lenses are specialised and you can get one of them for quite a small price like the Sigma 105mm f2.8 1:1. If you are on a tight budget or just want to try to make some adjustments with the equipment you have, don't panic, it is possible! A much cheaper alternative is to get some reversing rings for our current lenses, logically we sacrifice some steps of light and image quality but here we are talking about solutions adaptable to everyone's pocket to get into macro photography. Another option, (please don't kill me macro photography experts), is to use a telephoto lens, creativity and editing tools. Ok, yes, we are not going to get a macro photograph as such but a homemade close-up that will allow us to get an idea of the potential of this branch of photography and to be able to decide if it is worth investing in a macro lens.


Left - Reversing ring / Right: Sigma 105mm f2.8 1:1 / Source: Amazon
Why do I suggest this option? Very simple: this is how, without wanting to, I discovered this world and decided to add my first 1:1 macro lens to my equipment.
These two pictures I show you are not macro pictures, but close-ups and were taken with a Nikon D5200 + the kit lens (18-55 mm) 7 years ago.


To put it into practice, once you have located the subject you want to photograph, all you have to do is get as close as your camera's focus allows and shoot. For Macro photography it is highly recommended to use a tripod (or a pile of books if you are at home or leaning on a rock, the ground or whatever you can think of) to get as little shake as possible because, as with telephoto lenses, any small movement can cause a large blur in our image. The next step would be to go to our editing program and crop the image to bring it as close as possible, play a little bit with the colour, improve the focus and voilà. We will have our homemade "macro" image ready.
Logically, with reversing rings or a macro lens, the cropping step in the editing programme would not be necessary and then we would obtain a macro photograph as such.
Things to keep in mind when shooting macro with a macro lens or reversing rings:
Tripod: As we have said, it will make your life much easier and you will get much more precise and focused results. Make sure it is a sturdy and heavy tripod, otherwise the small vibrations produced by the air in it could spoil the shot. If you want to give extra stability to your shots, it is also a good option to use a remote shutter release to eliminate any vibrations that we may transmit when pressing the shutter release button manually.
Light: Given the proximity to our subject when focusing, macro photography will need a lot of light to be able to take it in the correct exposure conditions. Therefore, it is important to bear in mind that in nature macro, the hours that are close to the centre of the day can be a very good option if we know how to play with the angles of incidence. On many other occasions, in order to achieve the minimum possible shadows, it will be necessary to provide artificial light through a spotlight or those known in macro as ring flashes that are installed around our lens.
Manual Focus: In general, in this type of photography, manual focus will be our best ally and at the same time the most difficult part. We must focus to the millimetre to obtain a sharp image and this, my friends, is complicated even if we have the camera on a sturdy tripod. Use the camera's live view, if you have it, to get a more accurate focus and be patient until you get the focus right.
Low Iso: this is nothing new, it is much better to always use the lowest ISO possible to avoid annoying digital noise. Outdoors, this task becomes more difficult, especially if you are using natural light for photography, so always try to play with the shutter speed if you are shooting inanimate objects.
Aperture: the out-of-focus effect when using wide-open apertures is beautiful, we all agree, but be careful! It can play a trick on you because the wider the aperture is open, the smaller the focused area of your image will be. As with everything, balance is the solution, close the aperture a few stops and you will get an image with a blurred background and a larger area in focus :)
If at this point you are interested in this trend but you don't know where to start looking for small and interesting subjects. Here are some ideas so you can put them into practice and start discovering this little world :)
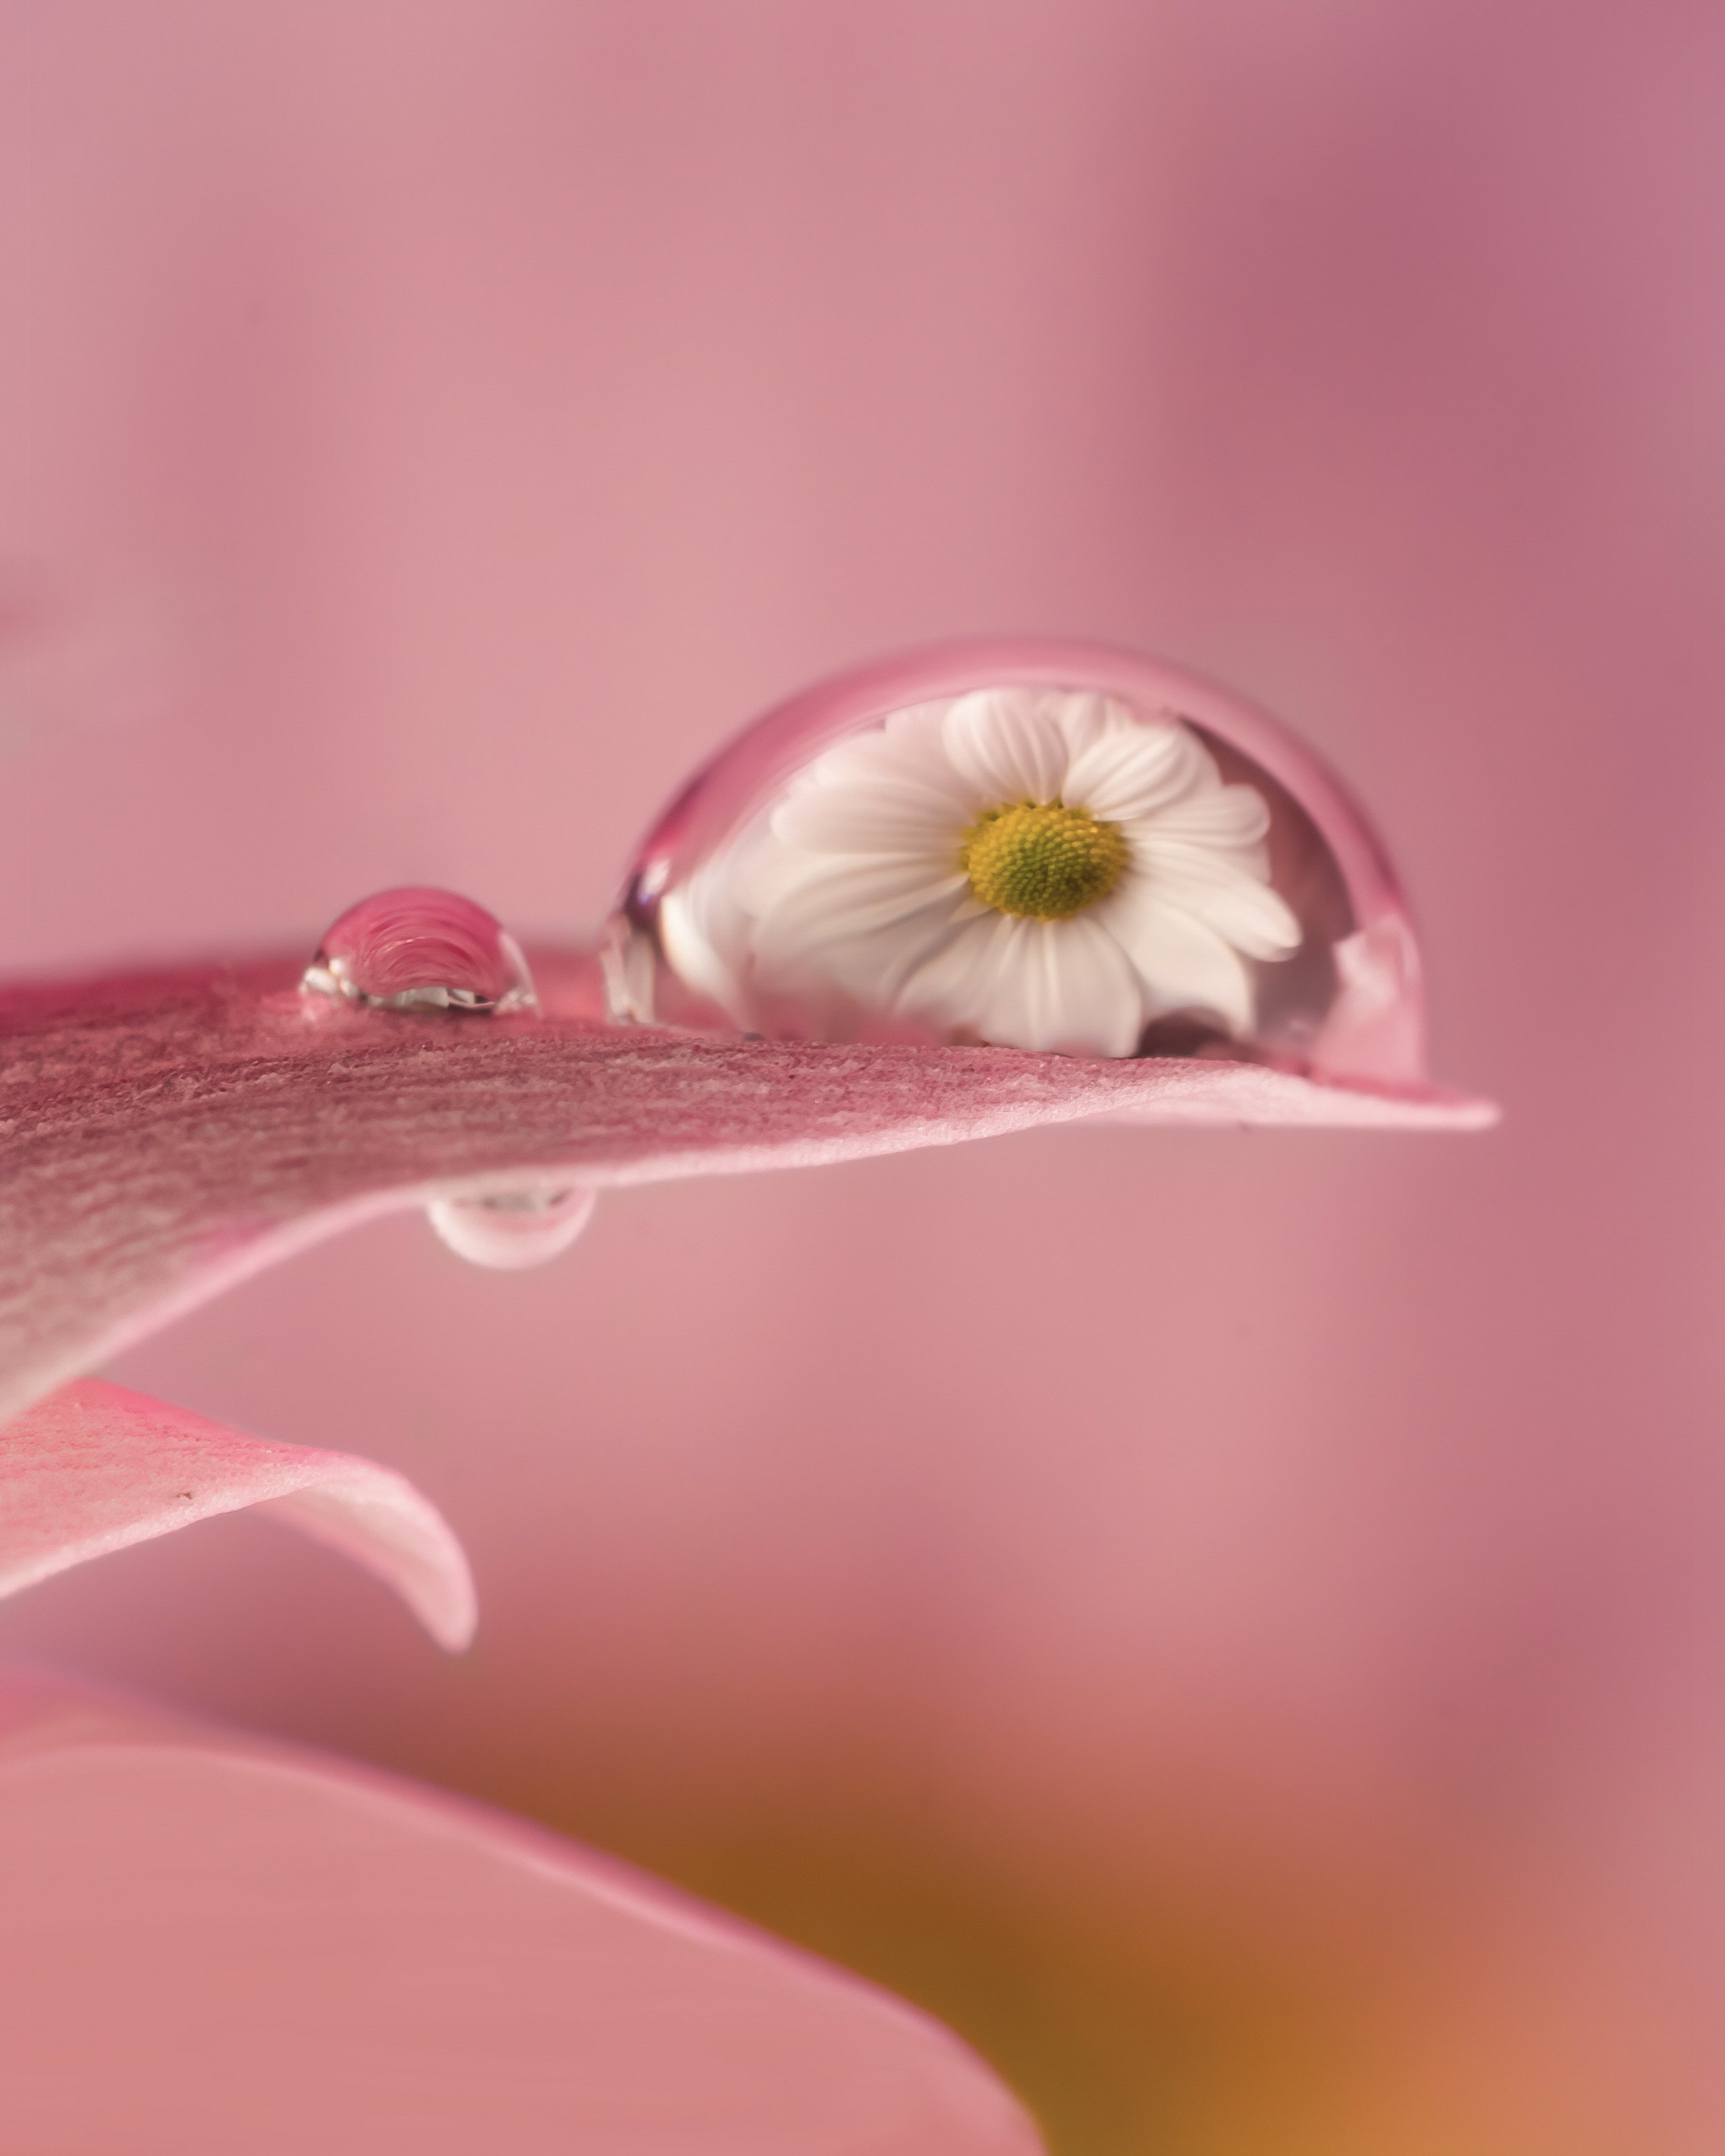
Try your luck with flowers
Especially in spring and summer we can find a great variety of interesting wild flowers. Keep your eyes peeled and find one that you like.


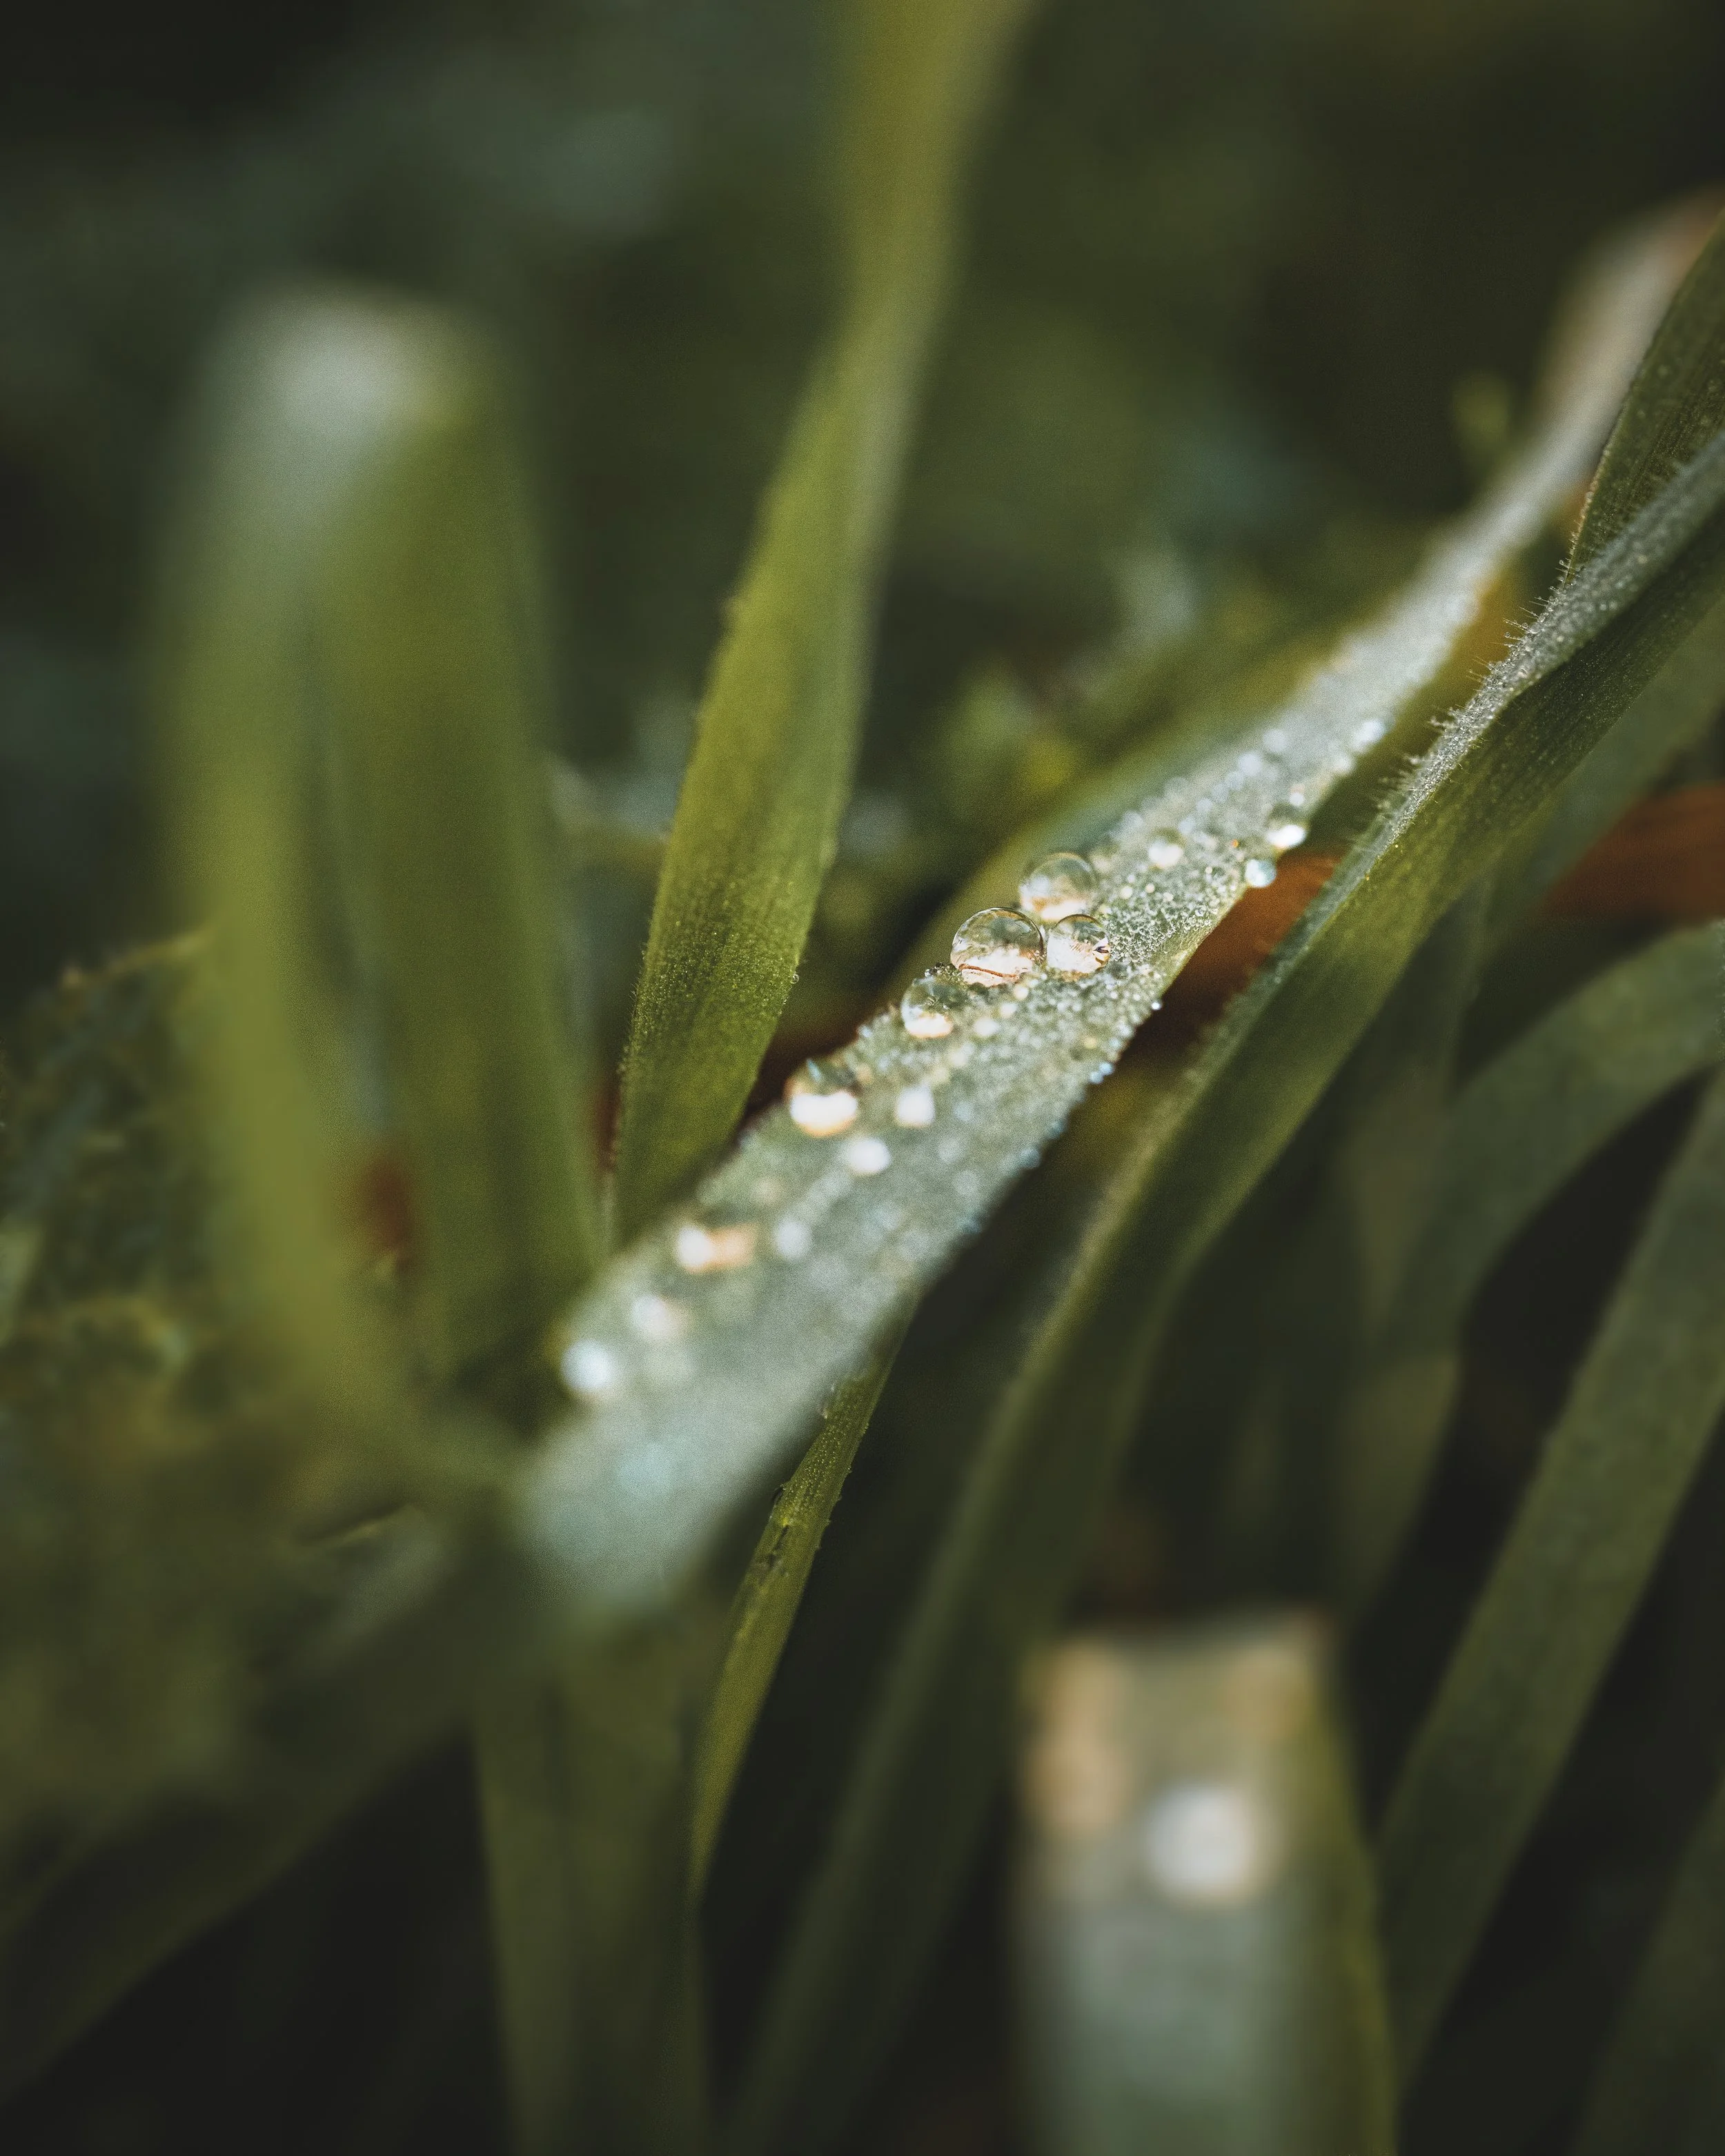
2. Freeze the exact moment when drops are falling
In the morning dew, after a day of rain, melting snow or by spraying a few drops on any leaf.


3.PLAY with the refraction of water and also try with oil on water.
The phenomenon of refraction produced by water can be very useful for creative macro photography where we can catch reflections in drops. In addition, by putting water and oil together in a container we obtain some curious bubbles with which you can find some curious shapes.


4. Search for small insects
In nature we can find an infinite number of insects and photographing them is always a challenge. I assure you that you will be able to achieve the most varied and curious results.


5. locate textures and patterns
the world of small things is also full of patterns and textures that we can photograph. Train yourself to look for them!


Can you think of any other ideas for capturing macros with elements of nature? Start to see the details of each object in front of you and you will discover a world that is only available to the most observant.
AUTHOR:
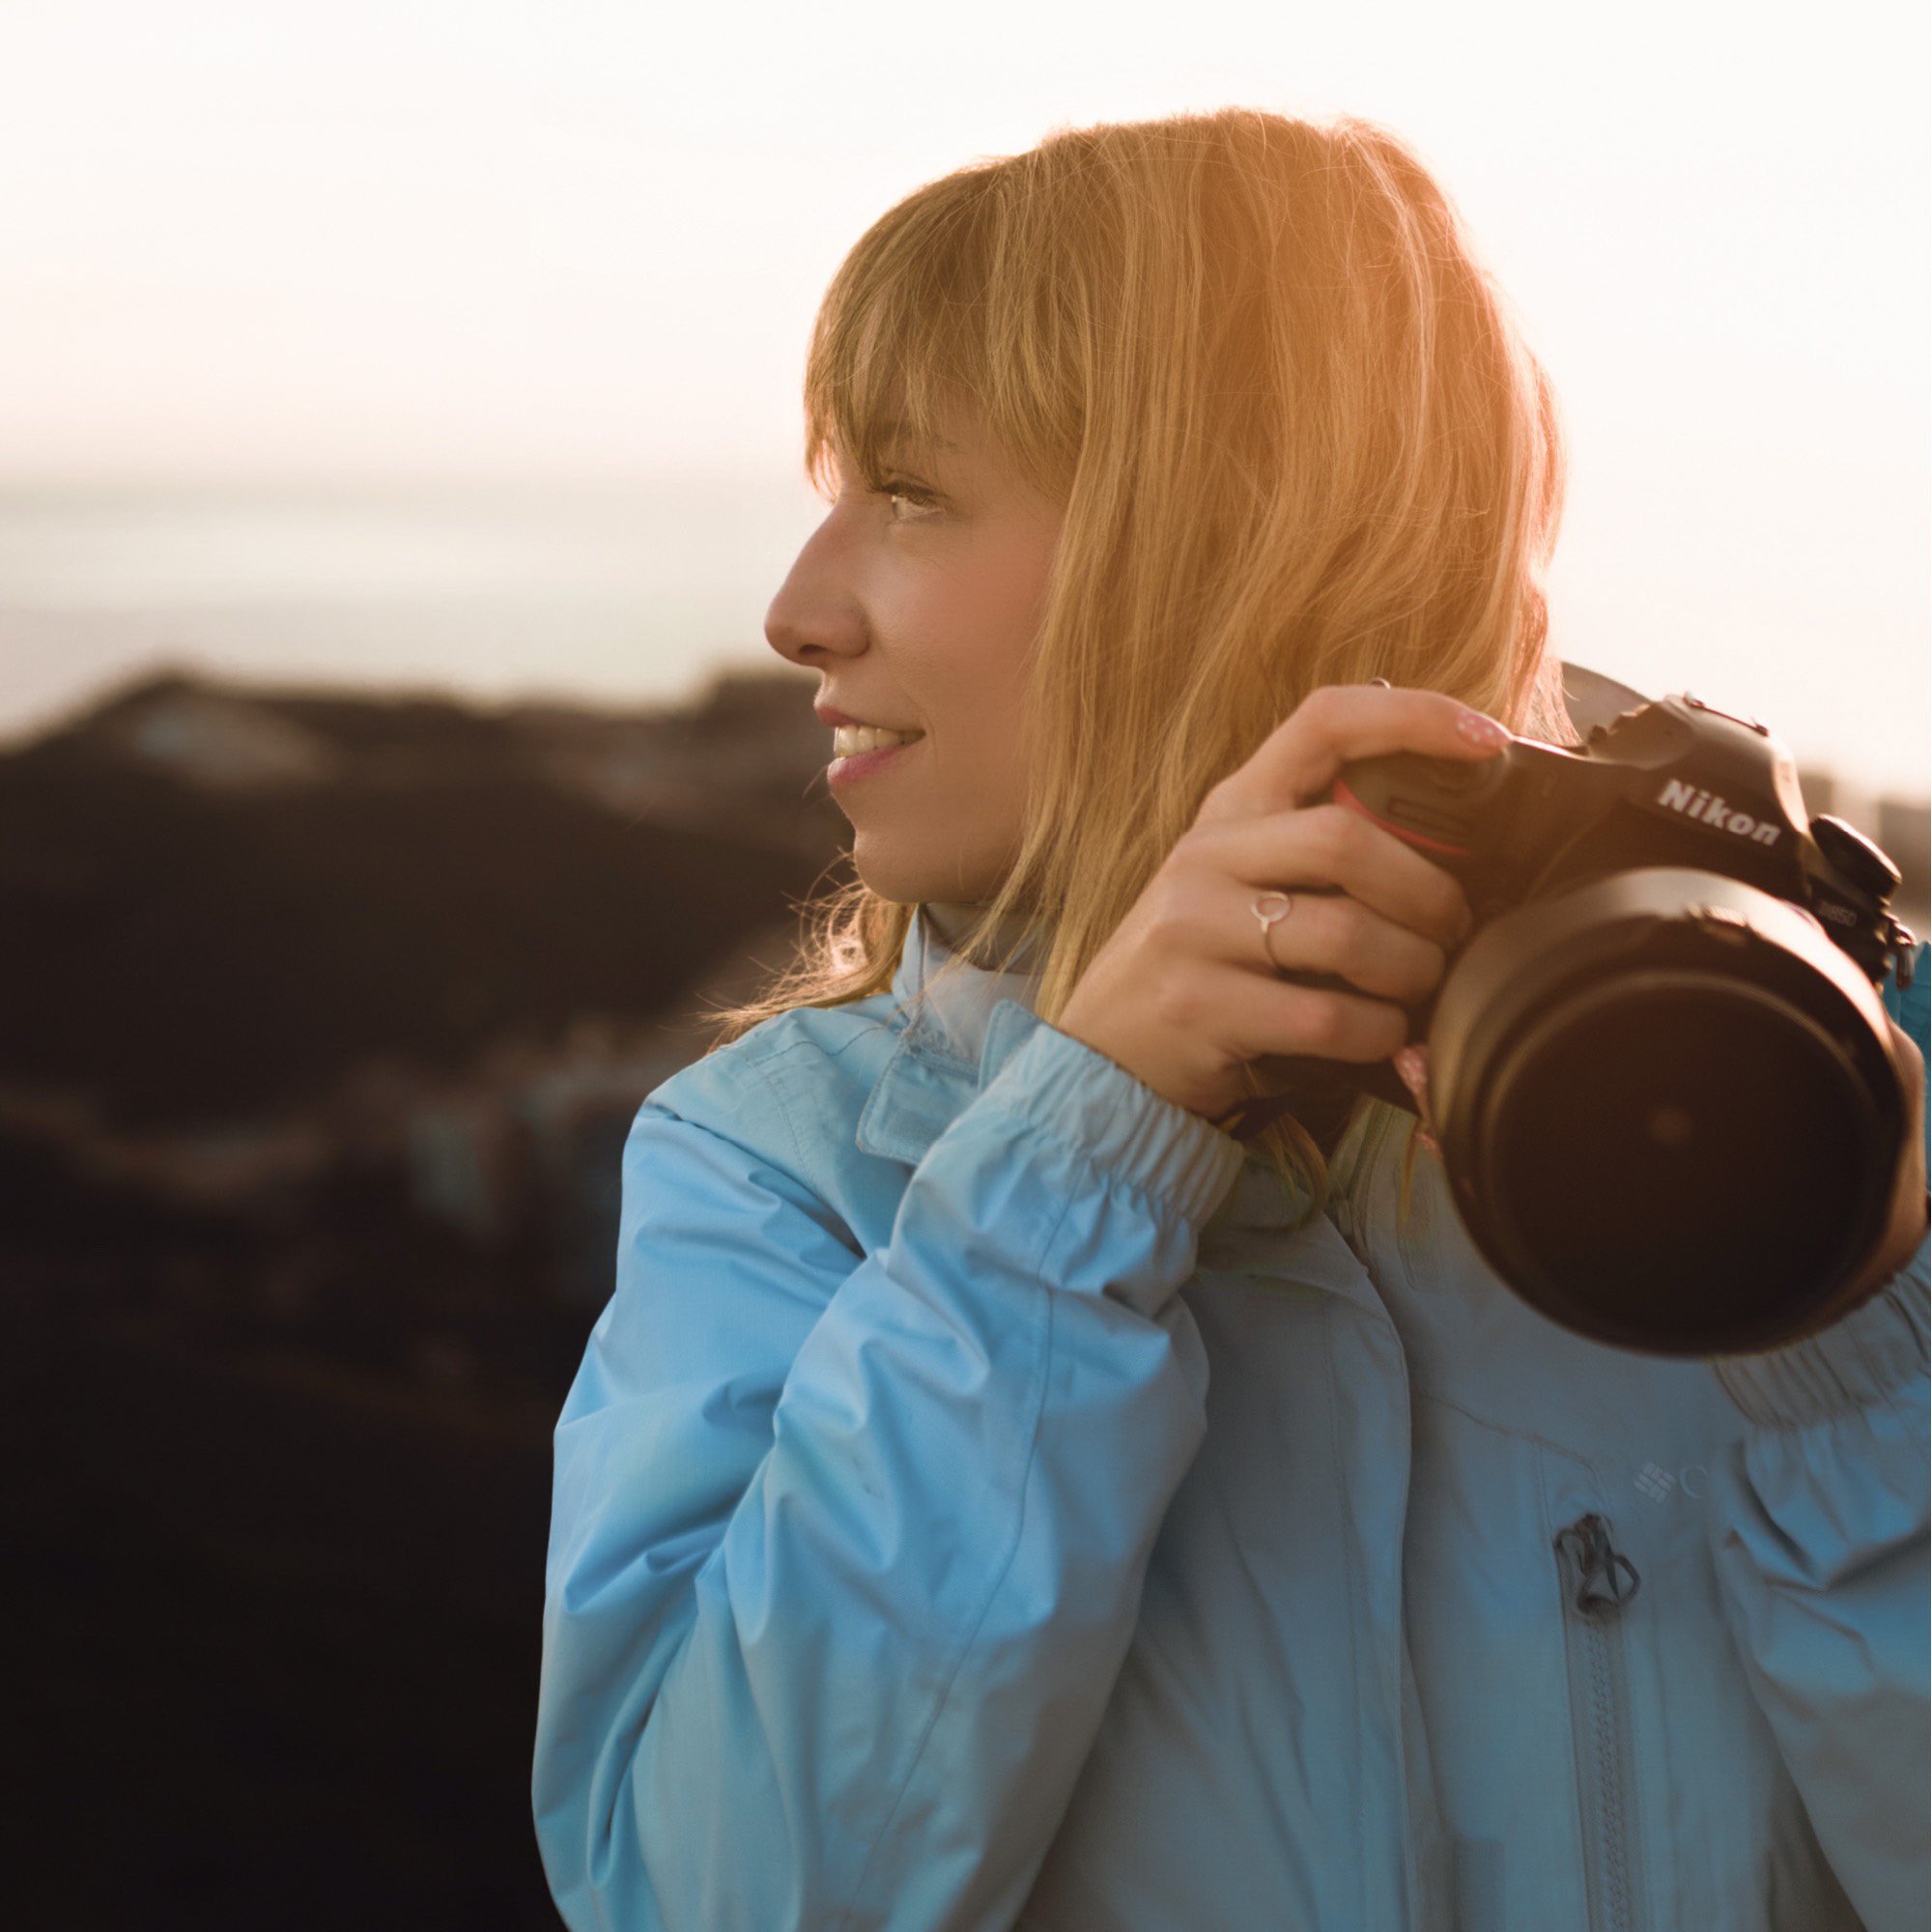
MARA DE LA TORRE
Professional travel & commercial photographer. Content creator spesialised in storytelling.
Lover of nature and capturing it through the lenses
FOLLOW ME ON SOCIAL MEDIA:
YOU MAY ALSO BE INTERESTED IN....


