
PHOTOSHOP IA TOOL: IS THE END OF PHOTOGRAPHY?
AI (Artificial Intelligence) is a somewhat complex concept to describe. We could summarise it as systems or computer programmes that try to simulate the cognitive function of human beings. If you have been attentive in recent months to developments in this field, you are surely aware of the generative tool that Adobe launched through Photoshop Beta and that has been a "revolution" in the visual and photographic field.
The AI tool built into PS Beta is pretty amazing and you can use it to create anything you can think of from scratch. To test it out I decided to start with a blank canvas of dimensions 1080x1350 px and see with a couple of clicks what I was able to create. I was looking for a mountain landscape, with snow, a lake and some mist. And a cabin, of course. In just 3 minutes and using only 3 layers (one for each generative action I asked the program to do) photoshop gave me back this image:

Image generated with the IA option included in PS Beta
The result is amazing, very realistic and ready to be edited, and using this tool in this way was fun but also made me question the limits of photography. Using this tool in this way was fun for me but it also made me question the limits of photography: could I consider an AI-generated image as a photograph? We have the debate going on in networks and blogs, there is a diversity of opinions and all of them are equally valid. For me, personally, images created by AI are another type of artistic current far removed from photography. Photography is much more than the captured image: it is the preparation, it is the travelling, it is the exploring and finding patterns/perspectives in nature, it is the imperfection of not getting in a shot what you had in mind, it is looking for the light and playing with it, getting excited when you get the shot you had in mind, setting up the camera, using filters and then sitting in front of your computer to select shots and give them a colourful artistic touch with an editing tool.
So Mara, if this is your opinion on the matter, why are you talking to me about AI? Well, AI is not just for generating images from scratch. It also makes our lives much easier when it comes to editing, and this is where I see it as a tremendously powerful tool for improving the workflow.
Let's get down to business. These are the three most recurrent processes for which I use AI and save a lot of time:
CLEAN AN IMAGE
For any fan of minimalism and tidiness, cleaning up an image is one of the steps to carry out before finishing an edit. Until a few months ago, the way to clean up an image could be extremely tedious using the clone stamp tool, the correction brush and patches. Imagine a plaque full of footprints, a bridge with people on it or even some weeds in a meadow that divert our gaze from our main subject. When we had many subjects to clean out of our image to enhance the main subject of the photograph and help our eye detect it more quickly, we could talk about hours of work. With PS Beta's generative tool it is as simple as selecting what we want to remove from our image with the lasso tool and typing the word "Remove". In just a few seconds you will have the image cleaned up very efficiently. Problem: If you want to clean up too much, the AI tool may offer you the possibility of changing part of the image so that it no longer corresponds to the initial image. Whether or not to apply this type of change is a very personal decision and I leave it up to each of you.


EXPAND AN IMAGE
How many times have you had a horizontal or vertical image that you wanted to change the orientation but it didn't look the way you expected and the "Fill according to content" tool in photoshop didn't give you good results? This has happened to me countless times... until AI came along. Their fill by content tool is a real barbarity. It works very well and in most of the images I've tried it, it perfectly respects the original composition of the shot. How to do it? Very easy: you have to use the crop tool to expand the image to the size you want and then in the "Generative Fill" tab type "Expand as per content". That's it, you have your image in the orientation you wanted in just a few seconds.
Problem: It usually gives you three options as a result and you have to choose one of them. Some of the options add "Creative" elements that are not included in the original image. As you know, this decision is entirely up to the person editing the image.


COMBINE TWO OF YOUR IMAGES
Sometimes we need to combine two of our images in order to create the final image, for example, you shoot a burst of a model and you like the landscape in one of the shots better as the light hits it but you like the pose of your model better in another of the burst shots. Previously we should carefully select our main subject, delete the original subject from the first shot and paste in our original image the subject we prefer. Well, with AI this process is much simpler. We only have to do it in three steps:
1. Select the subject and tell PS to fill it as per content (the same tool we used to expand an image in the previous point) adding the phrase "fill as per content". This way we have a clean base image to add our subject.
2. Select the subject that we want to copy in our photograph and paste it in the shot that we have just prepared in point 1.
3. Select the area where both images coincide and click on the generate button. PS will automatically merge both images so that the cut between them is imperceptible.


After these tips I hope that you will be able to use AI in a much more conscious way and to streamline your workflow because what is clear is that AI is here to stay and it is our responsibility to make proper use of it so that art and creativity through lenses continues to prevail in the world of photography.
AUTHOR:
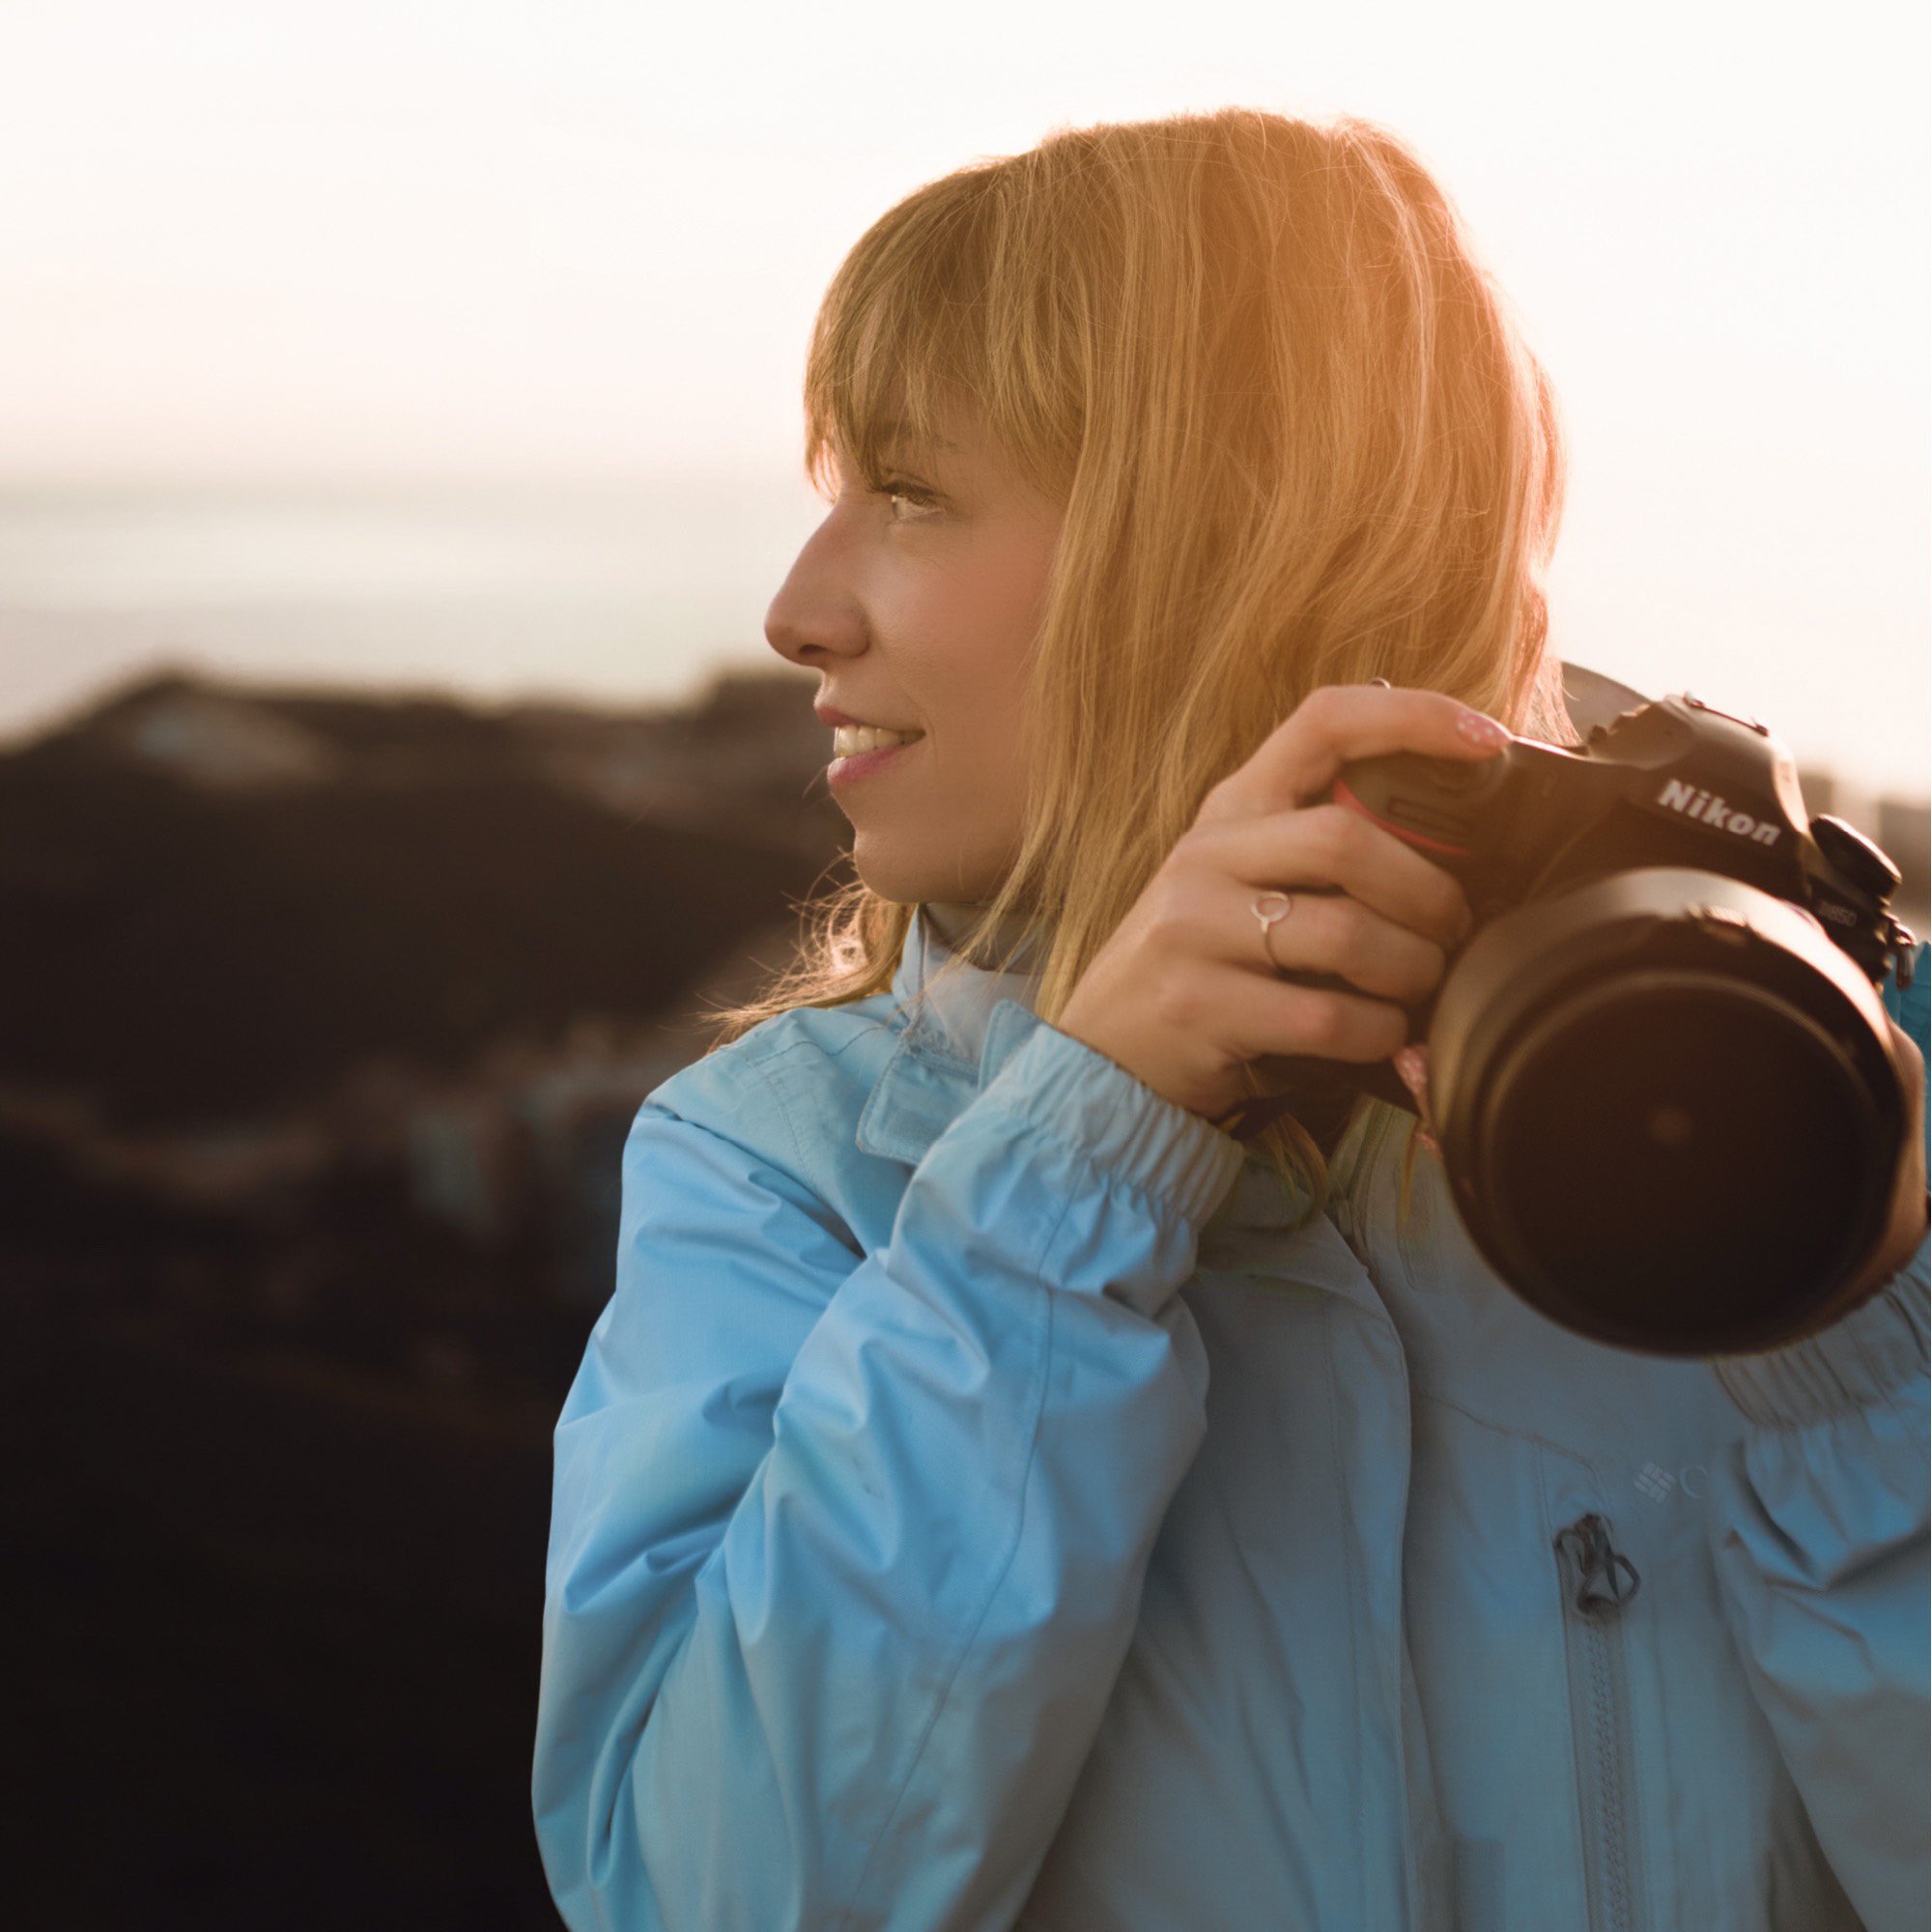
MARA DE LA TORRE
Professional travel & commercial photographer. Content creator spesialised in storytelling.
Lover of nature and capturing it through the lenses.
FOLLOW ME ON SOCIAL MEDIA
YOU MAY ALSO BE INTERESTED IN....


